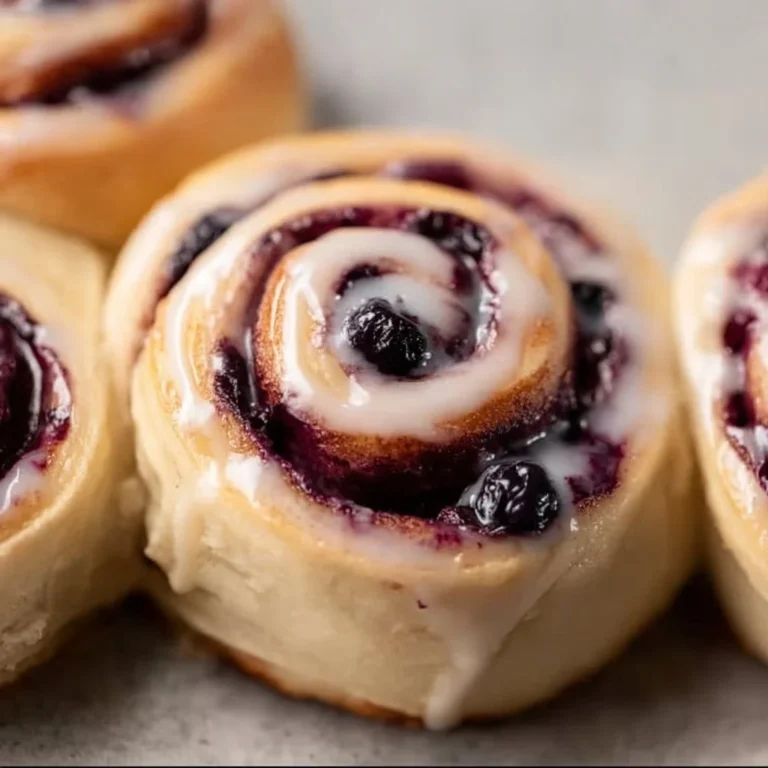
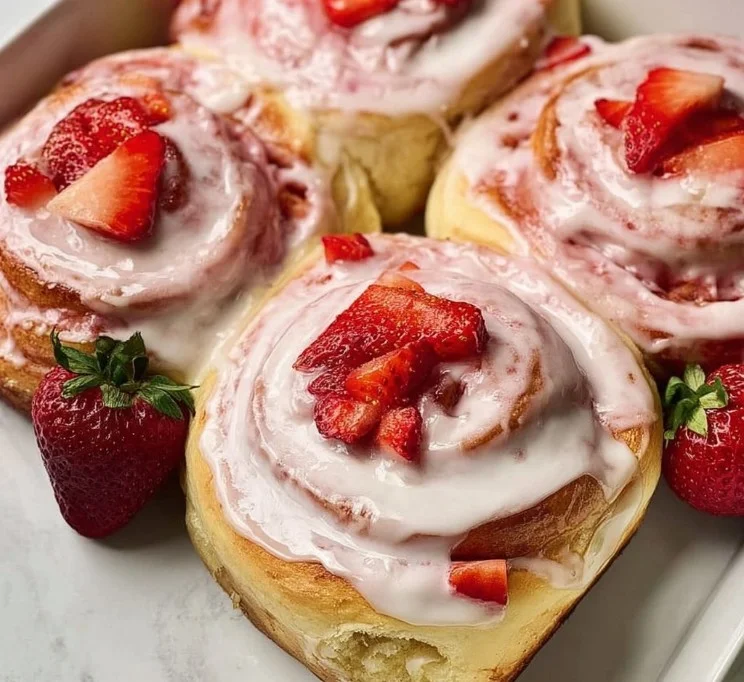
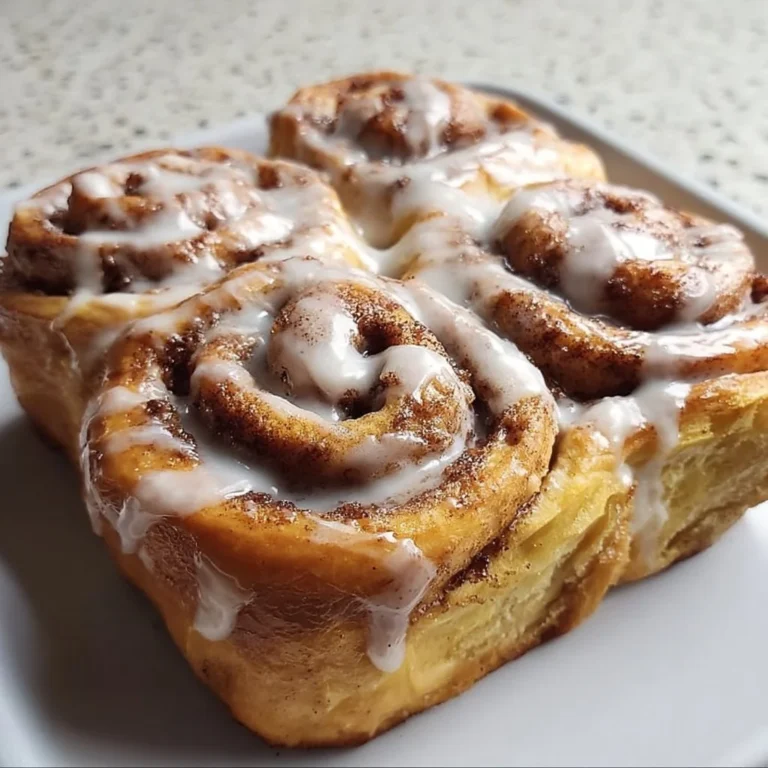
Cheese Danish Delight

While we have provided a jump to recipe button, please note that if you scroll straight to the recipe card, you may miss helpful details about ingredients, step-by-step tips, answers to common questions and a lot more informations that can help your recipe turn out even better.
I believe brunch is a moral imperative and that pastries can solve at least 60% of life’s problems, maybe more. Also: I once thought store-bought was fine until I met butter that actually flakes — game changer. If you want to level up your lazy Sunday, try this take on Cheese Danish Delight and then, for the love of carbs, pair it with my party starter cheese ball recipe because yes, I just suggested pairing pastries with more party cheese and yes I stand by it.
That time I made something that smelled like regret
I remember the exact sound — the oven when it gives up and starts a slow, smoking wheeze (not impressive). I tried to be brave and laminate dough like a pastry wizard and ended up with something that looked like a confused cookie. It smelled buttery in a sad way, like the butter was asking for help. The texture? Dense, slightly rubbery, like a bagel pretending to be a Danish. Embarrassing. I served them anyway because honesty. My partner took a bite, then five seconds of polite chewing happened, then they said, “It’s… rustic.” Which I took as supportive. Also, there were cries (mine), a flour fight (also mine), and a small, very unnecessary Pinterest deep dive at 2 a.m. I learned a lot, mostly that flour and pride do not mix.
Why this finally behaves and doesn’t shame me in public
Here’s the short version: less drama, more chill. I stopped trying to impress people with obvious techniques and started respecting temperature and patience (and also my oven’s moods). The cream-cheese center? Keep it soft, not soupy. The dough? Cold butter, minimal handling. Emotional growth, basically. The Cheese Danish Delight you get now is flakier because I stopped overworking the dough and started whispering to it (kidding? maybe not). Practical change: I refrigerate longer and cut straighter. Emotional change: I accept that some pastries will collapse and that’s life. Also, sometimes they don’t. Confidence level: high-ish with a side of doubt.
Ingredients (and my chips-on-the-counter commentary)
- 2 cups all-purpose flour
- 1 tablespoon granulated sugar
- 1 teaspoon salt
- 1 cup unsalted butter, cold and cubed
- 1/2 cup cream cheese, softened
- 1/4 cup powdered sugar
- 1 teaspoon vanilla extract
- 1 large egg, beaten (for egg wash)
- 1 tablespoon milk for egg wash
Budget-friendly, flakier if your butter is cold, check cream cheese availability (yes, brands matter; no, you don’t need to Instagram it).
Also, for people who will ask: you could sub part of the flour for whole wheat—go wild—but expect moodier flake behavior. And while we’re talking pairings: if you like no-bake shortcuts, my 3-ingredient no-bake cheesecake is unreasonably satisfying with leftover cream cheese because yes, you will have leftover cream cheese. I am not sorry.
Cooking Unit Converter
If you need cups to grams or Fahrenheit to Celsius in the middle of your pastry panic, this little tool helps you not panic as much.
How to actually make the thing (but we can talk while we do it)
- In a large bowl, whisk together the flour, granulated sugar, and salt. Add the cold, cubed butter and use a pastry cutter or your fingers to mix until the mixture resembles coarse crumbs.
- Gradually add 1/4 cup of cold water, mixing until the dough comes together. Be careful not to overwork it. Shape the dough into a disk, wrap it in plastic wrap, and refrigerate for at least 1 hour.
- Preheat your oven to 400°F (200°C). Line a baking sheet with parchment paper.
- On a lightly floured surface, roll out the chilled dough into a rectangle about 1/4 inch thick. Cut the dough into squares, approximately 4×4 inches.
- In a medium bowl, mix the softened cream cheese, powdered sugar, and vanilla extract until smooth.
- Place a tablespoon of the cream cheese mixture in the center of each dough square. Fold the corners of the square towards the center to create a pocket and pinch to seal.
- In a small bowl, whisk together the beaten egg and milk. Brush the egg wash over each Danish.
- Bake in the preheated oven for 15-20 minutes or until golden brown. Let cool slightly before serving.
Not linear? Good. Because baking keyboards are full of interruptions. Tip: chill if you cry; the dough benefits from your tears (kidding — maybe). Also: IF your oven is wild, rotate the sheet halfway. Pinch, fold, breathe. CAPITALIZED emphasis: DO NOT overwork the dough. Please.

Listen, do you also have a baking chaos corner?
Have you ever tried to roll dough while someone microwaves fish? Tell me that’s your chaos too. Do your kids taste-test and then deny tasting? Is your cat the official pastry critic? I assume we share small kitchens and large ambitions. Which raises the question: do we freeze extras or heroically eat them all? I vote freeze (but then I don’t). Who else judges the oven light like it’s a stage performance? (You. I see you.) Also, yes, you can use store-bought puff pastry if you’re in a mood for shortcuts and I won’t judge — loudly.
FAQ — stop texting me these questions at midnight
Yes. Chill the dough for up to 48 hours or freeze for a month. Thaw overnight in the fridge. It’s very forgiving if you respect the cold.
Whip it like you mean it. Softening slightly at room temp helps; if it’s still lumpy, beat longer and add a splash of milk. Texture will be silkier and your soul will thank you.
You can, but it will be less flaky and more morally ambiguous. Real butter = better flavor.
Room temp for a day in an airtight container, fridge up to 3 days. Reheat briefly in the oven at low heat to revive flakiness. I sometimes hide extras in the freezer and then pretend I forgot them.
Absolutely. Smaller squares, shorter bake time. They’re dangerous because they disappear faster. Beware.
I always end up thinking about mornings I could have had if I’d woken up earlier or not at all, and about how food is the friend that never cancels on you. Also, the first time someone tells you your Cheese Danish Delight tastes “homey,” accept it as a compliment even if you pictured yourself on a pastry magazine cover. I’m going to go preheat emotionally and then maybe nap, unless someone texts me about leftover cream cheese—
Daily Calorie Needs Calculator
Want to eyeball how this fits into your day? Here’s a quick calculator to stop guessing and start munching responsibly.

Cheese Danish Delight
Ingredients
Dough Ingredients
- 2 cups all-purpose flour
- 1 tablespoon granulated sugar
- 1 teaspoon salt
- 1 cup unsalted butter, cold and cubed Use cold butter for flakiness.
Filling Ingredients
- 1/2 cup cream cheese, softened Keep smooth and not lumpy.
- 1/4 cup powdered sugar
- 1 teaspoon vanilla extract
Egg Wash
- 1 large egg, beaten For the egg wash.
- 1 tablespoon milk Mix with the egg for wash.
Instructions
Preparation
- In a large bowl, whisk together the flour, granulated sugar, and salt.
- Add the cold, cubed butter and mix until the mixture resembles coarse crumbs using a pastry cutter or your fingers.
- Gradually add 1/4 cup of cold water and mix until the dough comes together; be careful not to overwork it.
- Shape the dough into a disk, wrap it in plastic wrap, and refrigerate for at least 1 hour.
Baking
- Preheat your oven to 400°F (200°C) and line a baking sheet with parchment paper.
- On a lightly floured surface, roll out the chilled dough into a rectangle about 1/4 inch thick.
- Cut the dough into squares, approximately 4×4 inches.
- In a medium bowl, mix the softened cream cheese, powdered sugar, and vanilla extract until smooth.
- Place a tablespoon of the cream cheese mixture in the center of each dough square, then fold the corners of the square towards the center to create a pocket and pinch to seal.
- In a small bowl, whisk together the beaten egg and milk. Brush the egg wash over each Danish.
- Bake in the preheated oven for 15-20 minutes or until golden brown. Let cool slightly before serving.