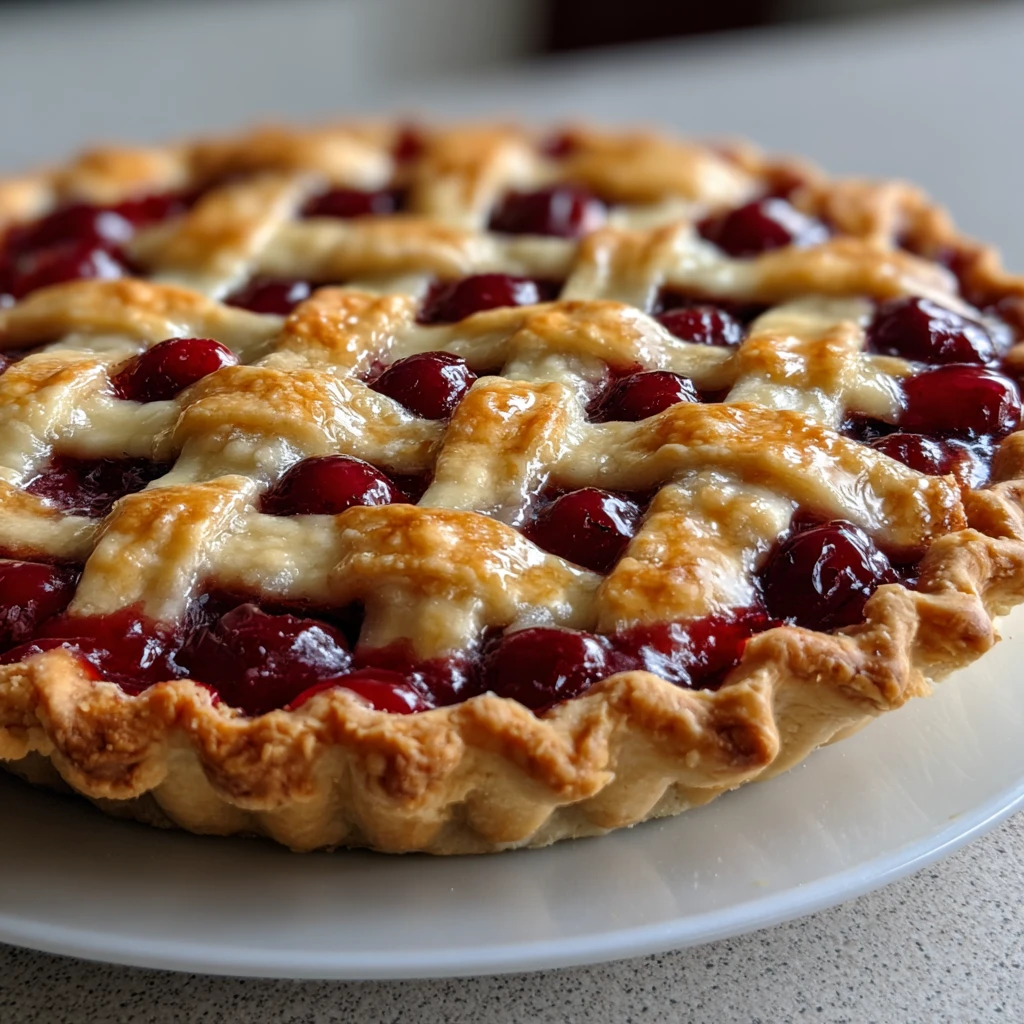
The Homemade Cherry Pie You Will Never Forget

There’s a special kind of magic that happens when I pull a cherry pie out of the oven. The air fills with that sweet, tart fragrance, and suddenly the kitchen feels warmer, cozier, and more alive. I remember the first time I tried baking one—it wasn’t perfect, the crust cracked a little, but my brother still went back for seconds. That was the moment I realized that sometimes baking is more about the love poured into it than the flawless look.
For me, a cherry pie recipe is never just about sugar, butter, and flour. It’s about family stories, sticky fingers sneaking a cherry or two, and the satisfaction of slicing into something you created from scratch. What makes it even better is how simple the process can be when you break it down step by step.
I’ve come to love that balance between the tart cherries and the buttery, flaky crust. It’s indulgent but comforting, a dessert that feels at home on a holiday table or on a random Sunday afternoon when I just need something sweet. And the best part? With the right little tricks, anyone can bake a cherry pie that’s not just good—it’s unforgettable.
So, grab your apron and let’s bake something that might just become your next favorite tradition. 🍒
What You’ll Need in Your Kitchen
Before diving into the actual baking, let’s get real for a second: the ingredients you pick matter more than you think. I used to grab whatever was in the pantry, but once I switched to fresh cherries and real butter, the difference was huge.
For the crust:
- 2 cups all-purpose flour
- 1 cup chilled butter
- 1/4 teaspoon salt
- 1/4 cup cold water
For the filling:
- 4 cups pitted cherries (fresh or frozen)
- 1 cup sugar
- 1/4 cup cornstarch
- 1 tablespoon lemon juice
- 1 teaspoon almond extract (optional but amazing)
- 1 tablespoon butter (for dotting the top)
Tip from experience: If you’re stuck with frozen cherries, just thaw and drain them well—otherwise, your pie risks becoming a watery mess. And honestly, that’s the last thing you want when you’ve put in all this effort.
From Dough to Delight: Step-by-Step Baking
Here’s the part that intimidated me the most at first, but trust me, once you’ve done it once, it’s actually relaxing.
Step 1: Get that crust ready
Mix the flour and salt, then cut in the butter until you see pea-sized crumbs. Add the cold water slowly, just enough for the dough to come together. Wrap it in plastic and let it rest in the fridge for at least 30 minutes. Cold dough equals flaky crust.
Step 2: Cook the filling
Combine the cherries, sugar, cornstarch, and lemon juice in a saucepan. Stir over medium heat until it thickens. Add that little dash of almond extract—don’t skip it if you can, it gives the filling a beautiful depth. Let it cool completely.
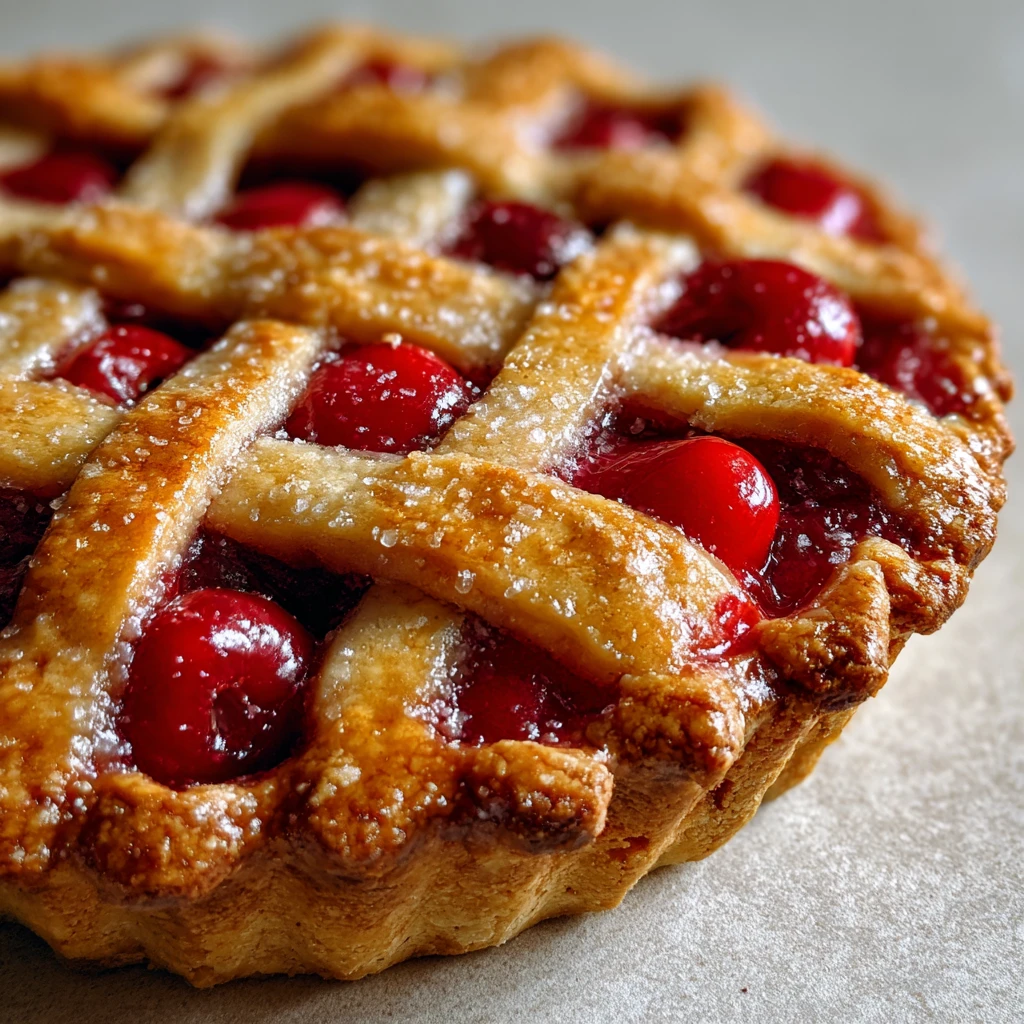
Step 3: Assemble the pie
Roll out your chilled dough and place it in the pie dish. Pour in the cooled cherry pie filling and dot the top with butter. Cover with a lattice or full top crust, sealing the edges tightly.
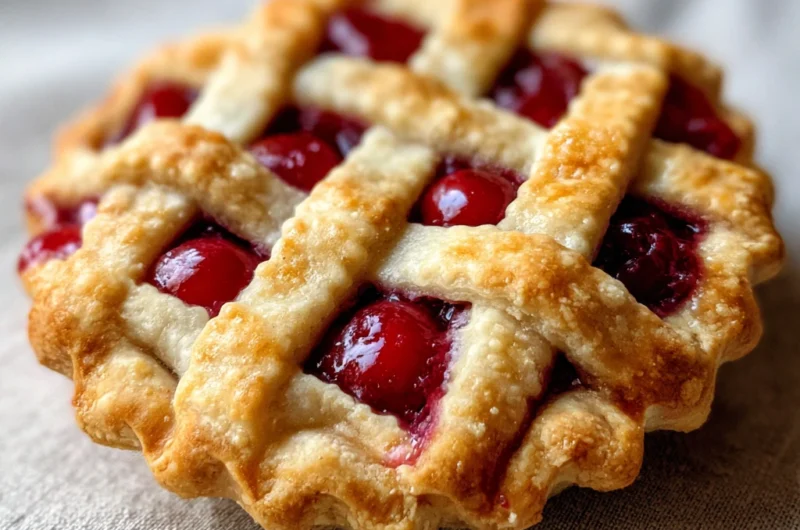
Step 4: Bake it golden
Preheat the oven to 375°F (190°C). Bake the pie for 45–55 minutes, until the crust turns golden and the filling bubbles. If the edges start browning too fast, just cover them with foil.
Step 5: Wait (the hardest part)
Let the pie rest until it’s fully cooled. I know it’s tempting to cut in right away, but patience saves you from a soupy disaster. When you finally slice into it, you’ll get that perfect thick filling that holds its shape.
Pro tip: Add a scoop of vanilla ice cream on top when serving—it’s the kind of combo that makes people close their eyes after the first bite. 😋
Why This Cherry Pie Recipe Stands Out
I’ve tasted plenty of pies—some too sweet, others too tart. What I love about this cherry pie is the balance. The cherries shine without being drowned in sugar, and the crust is tender but strong enough to hold everything together.
The almond extract is my secret weapon here. That tiny teaspoon makes the cherries taste richer, almost like they were meant to be paired with it. And because the instructions are straightforward, you don’t need years of baking under your belt to pull this off.
When I brought one of these cherry pies to a family barbecue, my aunt actually asked where I bought it. That was the moment I realized: this cherry pie recipe doesn’t just work—it impresses.
Bottom line: if you’re after a dessert that’s reliable but feels like a showstopper, this cherry pie is it.
Mistakes I’ve Made (So You Don’t Have To)
Let’s be real—I’ve messed up more than once. And honestly, those fails taught me more than any cookbook ever did.
- Soggy bottom crusts: I once cut into my pie too early and ended up with a cherry soup. Lesson learned—cooling time is non-negotiable.
- Mushy cherries: Overripe fruit looks tempting, but it doesn’t hold up well. Go for firm, fresh cherries whenever possible.
- Shrunken crusts: Rolling out warm dough was my rookie mistake. Always chill it first.
- Overbaked edges: Keep foil handy—it’s a lifesaver when the crust browns before the filling is ready.
And here’s one I still laugh about: once I forgot the cornstarch completely. The filling looked fine at first, but when I sliced into it, it was like serving cherry juice with pastry. My family still teases me about that one. 😂
Switching Things Up: Fun Alternatives
Not every cherry pie has to look or taste the same. Here are some little ways I like to keep it interesting:
- Add a pinch of cinnamon to the filling for a cozy, autumn twist.
- Try an orange zest in the mix—it adds a fresh brightness.
- If you’re gluten-free, a blend of rice flour and almond flour works surprisingly well for the crust.
- Swap the lattice top for crumb topping if you want something rustic.
One quirky combo I love: serving a slice with a thin slice of cheddar cheese on the side. It sounds odd, but the salty cheese against the sweet-tart pie is unexpectedly perfect.
Cherry Pie Questions People Always Ask
I get asked the same things whenever I share this cherry pie recipe, so here are my honest answers:
Can I use frozen cherries? Yes, just thaw and drain them well.
How do I stop the filling from being runny? Cornstarch is your best friend. And don’t forget to let the pie cool completely.
Can I prep ahead? Absolutely. You can make both the dough and the filling a day in advance. Assemble and bake when you’re ready.
How do I store leftovers? Keep it covered at room temperature for 2 days or refrigerate for up to 5.
What about freezing? Cherry pie freezes well. Wrap it tight and it’ll last up to 2 months.
How do I get that golden shine? An egg wash before baking does wonders.
Is it possible to make it vegan? Sure—swap butter for vegan margarine and use a plant-based milk wash instead of egg wash.
What’s the trick for a super flaky crust? Keep everything cold: butter, water, even the bowl if you want. Don’t overwork the dough.
Best way to serve it? Warm with ice cream. Always.
Wrapping Things Up
Making a cherry pie at home isn’t just about dessert—it’s about creating a little moment. A smell that lingers in the kitchen and the hallway, a taste that sticks in memory, a tradition that might even get passed down through generations. There’s something magical about the way the sweet-tart aroma of cherries mixes with buttery crust, filling the room with anticipation before the first bite.
So the next time you’re craving something sweet, skip the bakery and make your own. With this cherry pie filling recipe, you’ll have a dessert that’s not just tasty but also personal—a dish you crafted with your own hands, full of little touches that make it uniquely yours. Whether you sprinkle a little extra sugar on top or experiment with a lattice crust, it’s your creativity that turns a simple pie into a memory.
And if you mess up along the way, don’t stress—it’s part of the fun. Some of my best kitchen stories started with a mistake: a crust that cracked, a filling that was a bit too runny, or a sugar sprinkle that got carried away. These little mishaps often become the stories you laugh about later, the moments that make baking more than just following a recipe. The important part is to enjoy the process, taste as you go, and share it with people you care about.
So go on, preheat that oven. Roll out your dough, mix your cherries, and let the kitchen fill with warmth. Your perfect slice of cherry pie is waiting—flaky, sweet, slightly tart, and entirely made with love. 🥧 Whether it’s for a holiday, a casual family dinner, or just because, this pie is more than dessert—it’s a little slice of happiness you can create and share.
Related Recipes to Complement Your Cherry Pie
Homemade Strawberry Pie
A fresh and fruity dessert featuring juicy strawberries and a flaky crust, perfect for spring and summer celebrations.
Sweet Magic of Apple Pie Recipe
A nostalgic take on the classic American dessert, with warm spices and a golden, buttery crust.
Salted Caramel Apple Pie Cheesecake
A decadent fusion of apple pie and creamy cheesecake, topped with luscious salted caramel.
Did You Like This Recipe?
There are no reviews yet. Be the first one to write one.
Cherry Pie Recipe Card
Course: DessertCuisine: AmericanDifficulty: Medium8
servings45
minutes45
minutes350
kcalIngredients
- Crust:
2 cups all-purpose flour
1 cup chilled butter
1/4 tsp salt
1/4 cup cold water
- Filling:
4 cups pitted cherries
1 cup sugar
1/4 cup cornstarch
1 tbsp lemon juice
1 tsp almond extract (optional)
1 tbsp butter (for dotting)
Directions
- Mix flour & salt, cut in butter, add water, chill dough 30 min.
- Cook cherries, sugar, cornstarch, lemon juice until thick; add almond extract; cool.
- Roll dough into pie dish, add filling, dot with butter, cover with top crust or lattice.
- Bake 375°F (190°C) for 45–55 min; shield edges with foil if browning too fast.
- Cool completely before slicing; serve with vanilla ice cream if desired.