Perfectly Crafted Chocolate Candy Bar: Quick and Tasty

Have you ever unwrapped a Chocolate Candy Bar that felt like it was made just for you? That’s exactly the joy I discovered when I tried crafting one myself. I’ll be honest: at first, I thought it would be complicated, something reserved for professionals with fancy equipment. But once I gave it a go, I realized how simple and rewarding the process can be.
For me, store-bought Chocolate Candy Bars often lacked something—either they were too sweet, not crunchy enough, or packed with preservatives I didn’t really want. One afternoon, after a particularly bland bite of a packaged bar, I thought, “Why not make my own?” That decision turned into one of the most delicious experiments I’ve ever tried in my kitchen.
Making a homemade Chocolate Candy Bar is more than just melting chocolate and pouring it into molds. It’s about personalization, creativity, and putting your own story into every bite. You get to control the flavors, the sweetness, and even the little surprises hidden inside. And the best part? When I gifted a batch to my sister, she couldn’t believe I had made them myself. The sparkle in her eyes was worth every step.
So if you’ve ever dreamed of crafting something sweet, unique, and a little magical, come along—I’ll show you how to transform simple ingredients into your own masterpiece. 🍫✨
The Secret Joy of Making Your Own Chocolate Candy Bar
You might think a Chocolate Candy Bar is just… chocolate. But making your own Chocolate Candy Bar flips the whole experience upside down. It turns what you eat into something personal, meaningful, and way tastier.
Make It Truly Yours
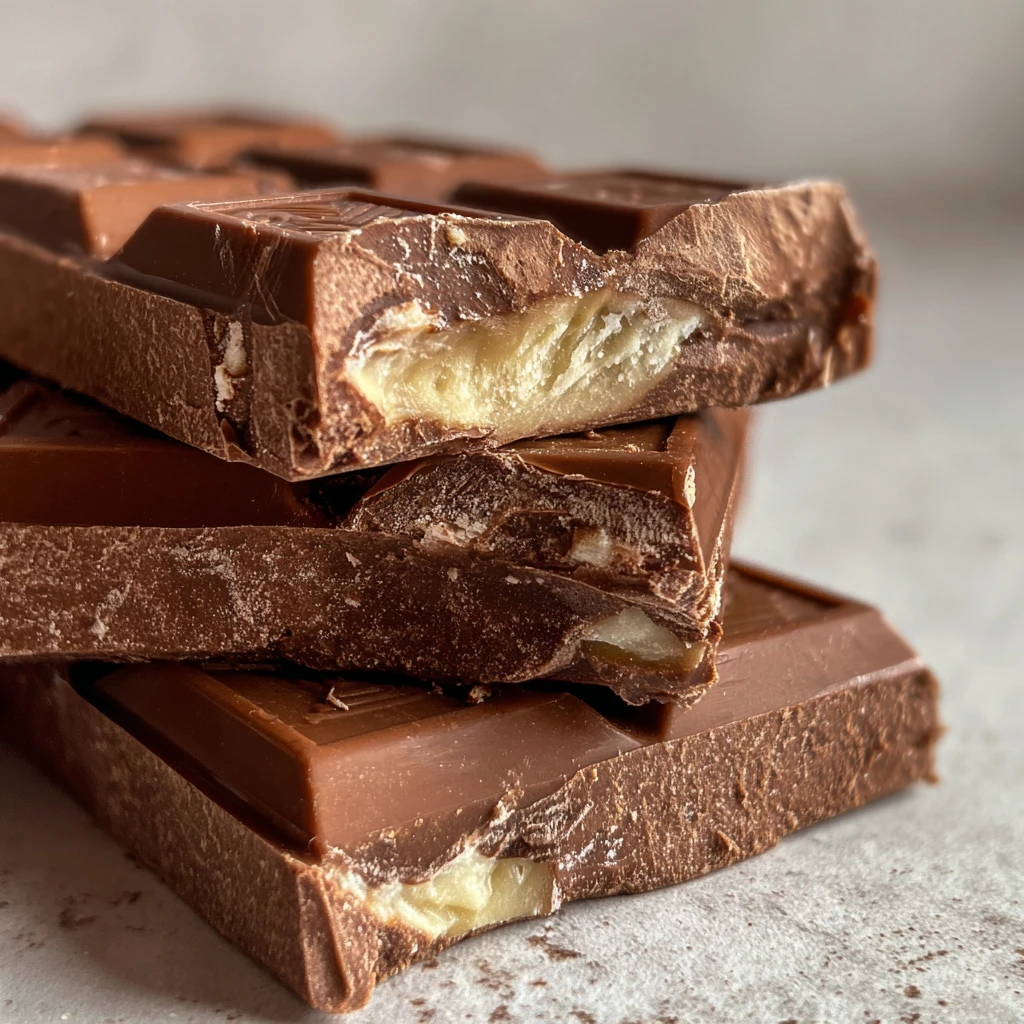
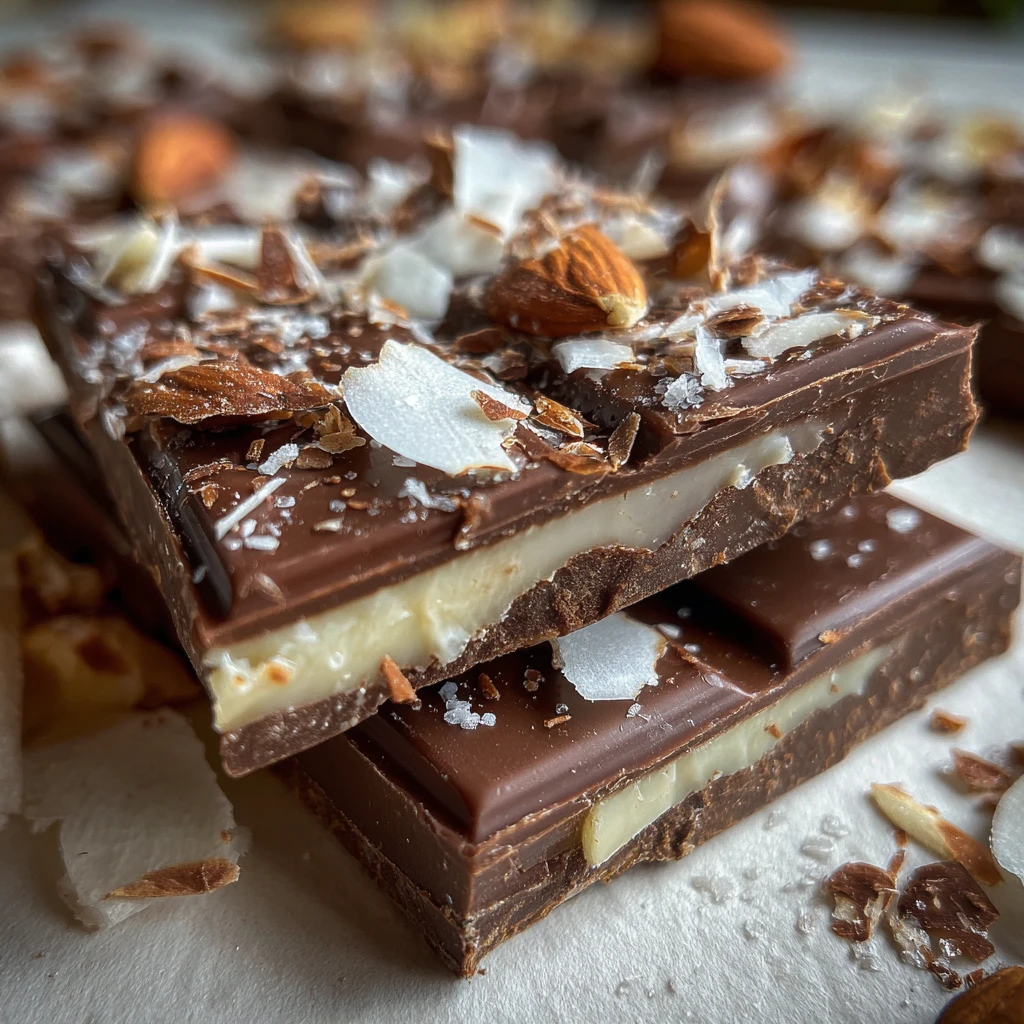
The beauty of homemade Chocolate Candy Bars is that you decide what goes in. Maybe you love the crunch of almonds, or the tart pop of dried cranberries, or even the heat of chili flakes. Once, I even tried sprinkling in a little sea salt with caramel pieces—trust me, it was a game-changer. And if you’re like me and sometimes want less sugar, you can adjust it. Your Chocolate Candy Bar, your rules.
No More Mystery Ingredients
One thing that pushed me toward making my own Chocolate Candy Bars was realizing how many hidden additives lurk in packaged ones. With your own chocolate candy bar recipes, you can keep things clean and simple: quality chocolate, natural sweeteners, and toppings you actually enjoy. Knowing exactly what you’re putting into your body feels surprisingly empowering.
It’s a Fun Project Too
Another unexpected perk? It’s fun. Making these Chocolate Candy Bars became a little ritual for me on quiet Sunday afternoons. Sometimes I’d rope in my nieces, and they’d get so excited choosing toppings. (Though, full disclosure, they ate more mix-ins than they added. 😅) Whether it’s for gifting, family bonding, or a cozy solo project, it’s a hobby that fills both your kitchen and your heart.
Gather the Essentials: What You’ll Need
Before the magic begins, let’s talk ingredients. To keep it simple, I’ll break this into must-haves and fun extras.
Must-Have Ingredients
- Dark Chocolate or Chips – Go for quality. The flavor really shines.
- Cacao Butter (Optional) – Makes everything silky smooth.
- Sweetener – Honey, maple syrup, or coconut sugar, depending on your vibe.
- Flavorings – Vanilla extract or a pinch of sea salt work wonders.
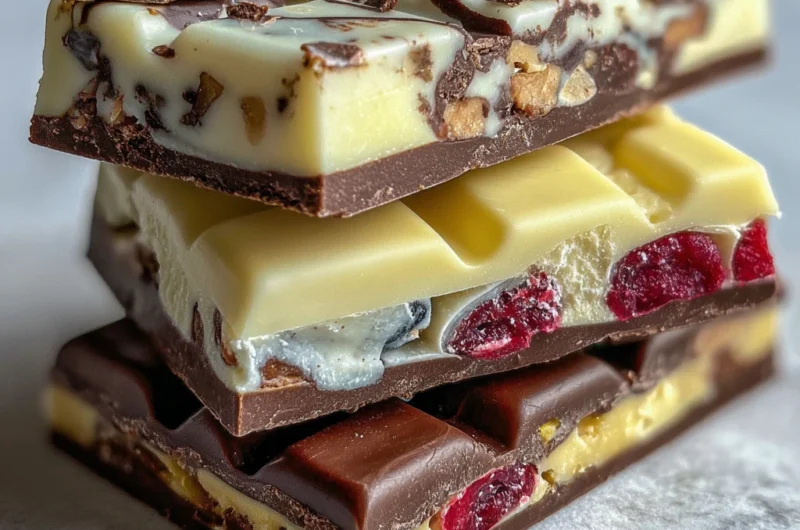
- Fillings – Nuts, rice crisps, dried fruits—these give your bars personality.
Optional Goodies
- Nut Butters – Peanut or almond butter swirled inside = heaven.
- Freeze-Dried Fruits – Strawberries and raspberries add tangy bursts.
Quick note: One batch makes about 12 bars, and prep only takes 10 minutes. Most of the waiting is just letting the bars set, which is the hardest part (patience is not my strongest suit).
Step by Step: How I Craft the Perfect Chocolate Candy Bar
This is where the fun begins. I’ll walk you through exactly how I do it.
1. Set Up Your Kitchen
Grab your molds (I like silicone ones), bowls, and a spatula. Having everything ready avoids the mid-recipe scramble—we’ve all been there.
2. Melt the Chocolate
I usually go with the double boiler method because it feels a little therapeutic, but microwaving works fine too. Just heat in short bursts and stir often. Remember: don’t rush this. Overheated chocolate turns grainy and ruins the texture.
3. Add Sweetness and Flavor
Once melted, I mix in my sweetener and a few drops of vanilla. Sometimes I’ll sprinkle in sea salt for that sweet-salty kick. That small detail honestly elevates the whole bar.
4. Mix in the Fun Stuff
This is my favorite part. I fold in whatever I’m craving—almonds, crispy rice, or bits of dried mango. One time, I even tried swirling peanut butter through the chocolate, and it looked like marble art when I unmolded it.
5. Pour into Molds
Pour the mix into your molds and tap them on the counter. This removes air bubbles and gives the bars that professional smooth finish.
6. Let Them Set
I let mine set at room temp if I have time, but the fridge speeds things up. Either way, the anticipation is real.
7. Unmold and Enjoy
Pop them out of the molds, and you’ve got bars ready to store or share. I keep mine in an airtight container so they stay fresh. Though, honestly, they rarely last more than a few days. 😉
Why This Recipe Won Me Over
Homemade chocolate candy bars aren’t just tasty—they’re an experience.
- They look impressive even though they’re easy to make.
- You avoid preservatives and weird fillers.
- You can adapt the Chocolate Candy Bar recipe to fit anyone’s taste or dietary needs.
What really struck me was how versatile they are. One week, I made nut-packed bars for energy snacks, and the next, fruit-loaded ones as little gifts. The flexibility is endless, and every batch feels like a new creation.
Mistakes I Learned to Avoid
Like any recipe, I stumbled a few times. Let me save you the trouble.
- Skipping tempering: Without it, the bars looked dull and didn’t have that satisfying snap.
- Overheating the chocolate: I once scorched mine in the microwave—tragic. Keep the heat low and steady.
- Forgetting to tap molds: Air bubbles left craters in my first batch. Now I never skip it.
These might seem small, but they make the difference between an okay bar and one that looks like it belongs in a chocolatier’s window.
Creative Alternatives & Substitutions
Want to switch it up? Here are my go-tos:
- Dairy-free: Use coconut oil instead of butter and grab vegan chocolate.
- Sugar-free: Try stevia, erythritol, or agave syrup.
- Spiced up: Cinnamon, espresso powder, or even cayenne can give bars a fun twist.
One friend of mine swears by adding pistachios and dried apricots. I tried it, and wow—it felt gourmet without any extra effort.
Frequently Asked Questions
Can I use milk chocolate instead of dark?
Of course! Milk chocolate makes a sweeter, creamier base. Just keep in mind it pairs best with lighter toppings, like dried fruit.
What if I don’t own molds?
No problem. Use a loaf pan lined with parchment, let it set, and slice it into bars. Rustic but still tasty.
How long do homemade bars last?
Stored in a cool place, they’ll keep for about a month. But realistically? They disappear fast. 😋
Can I add protein powder?
Yes! It makes the bars more filling. Just know the texture changes slightly.
What about chocolate chips?
They work, though some have stabilizers that affect melting. High-quality chips are best.
Butter vs. margarine?
Butter wins, hands down. Margarine dulls the flavor. Coconut oil is a great backup.
Best storage method?
An airtight container in a cool, dark place. If you like firmer chocolate, go for the fridge.
Can these be vegan?
Absolutely. With dairy-free chocolate and plant-based sweeteners, it’s simple.
How do I get that shiny finish?
Tempering is key. It takes practice, but the payoff is bars that gleam and snap beautifully.
Any advice for beginners?
Start small. Master the melt and mold, then get creative. And don’t stress—half the fun is experimenting.
Wrapping It All Up
At the end of the day, making your own Chocolate Candy Bar is about more than satisfying a sweet tooth. It’s about creating something with your hands, playing with flavors, and sharing little edible pieces of joy.
Whenever I unwrap one of my homemade bars, it reminds me that cooking doesn’t have to be complicated to be special. Sometimes, it’s the simplest recipes that bring the most happiness.
So, next time you’re tempted to grab a bar at the store, pause and ask yourself: “Why not make it at home instead?” Chances are, you’ll end up with something not just tastier, but truly yours.
Happy chocolate-making, and may your kitchen smell like heaven. 🌸🍫
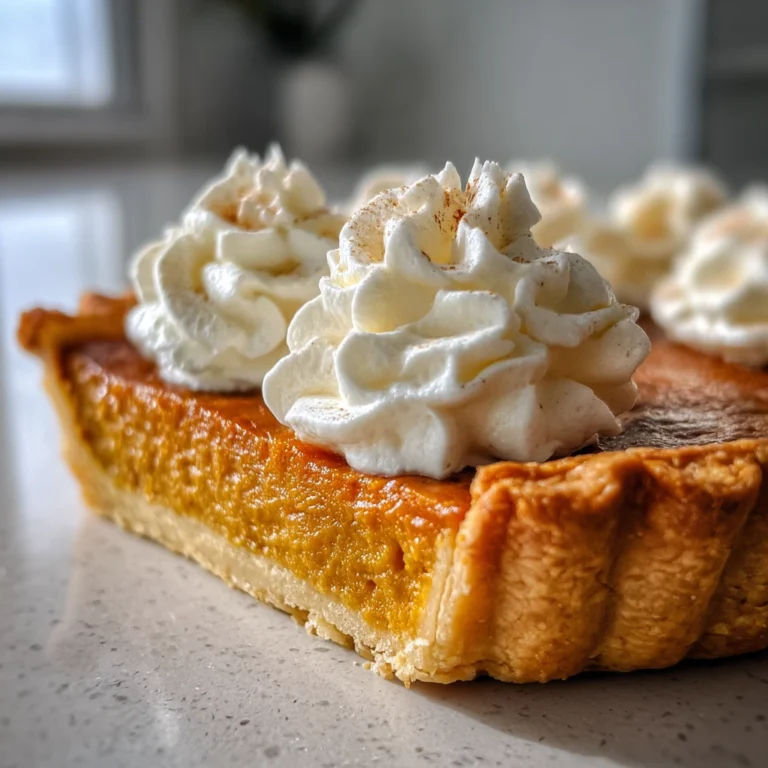
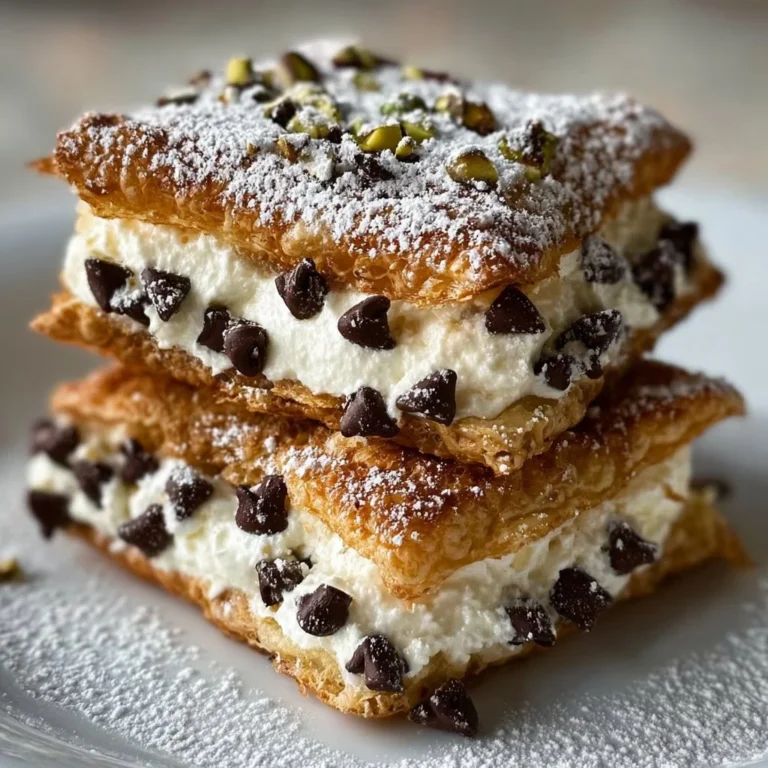
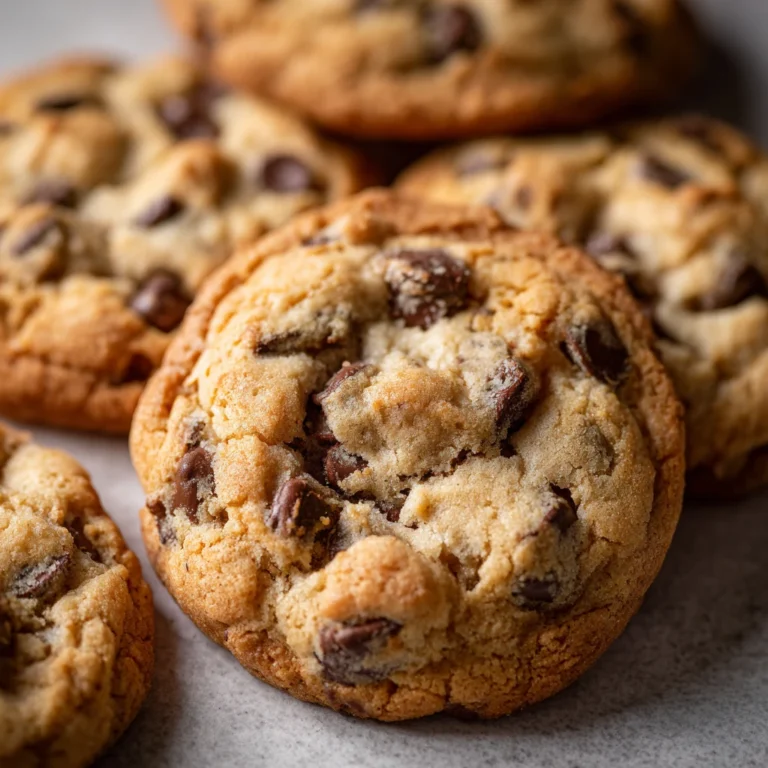
Related Recipes to Complement Your Chocolate Candy Bar
Chocolate Chip Cookie Recipe
A classic treat packed with gooey chocolate chips, ideal for pairing with or crumbling into your homemade candy bars.
Rich & Creamy Chocolate Cheesecake
An indulgent dessert that shares the same deep chocolate profile, offering a decadent companion to your homemade bars.
Chocolate Mousse Cake – My Written Guide
A light and airy chocolate dessert that contrasts beautifully with the dense, crunchy texture of candy bars.
Did You Like This Recipe?
There are no reviews yet. Be the first one to write one.
Chocolate Candy Bar Recipe Card
Course: DessertCuisine: InternationalDifficulty: Easy12
servings10
minutes5
minutes220
kcalIngredients
200 g dark chocolate (or chips)
1 tbsp cacao butter (optional)
2–3 tbsp honey, maple syrup, or coconut sugar
1 tsp vanilla extract
Pinch of sea salt
½ cup fillings (nuts, dried fruit, rice crisps, or nut butter swirls)
Directions
- Prepare molds, bowls, and spatula.
- Melt chocolate (double boiler or microwave in short bursts).
- Stir in sweetener, vanilla, and sea salt.
- Fold in fillings of choice.
- Pour into molds and tap to release air bubbles.
- Let set at room temp or refrigerate until firm.
- Unmold, store in airtight container, and enjoy.