Easy Yeast Doughnuts: Soft and Delicious Recipe
There’s something magical about biting into freshly made yeast doughnuts. That light, airy texture combined with a subtle sweetness instantly melts on your tongue. For me, it brings back childhood memories of watching my grandmother fry golden rings of dough in her small kitchen. The smell would fill the whole house, and we kids would stand on our tiptoes, eagerly waiting for the first glazed doughnut to land on the plate. 🍩
At first, the idea of making them at home felt overwhelming. “Yeast? Rising time? Frying?”—I thought it was for pros only. But once I gave it a shot, I realized how rewarding (and surprisingly fun) the process can be. Watching the dough puff up, transforming into golden pillows of goodness, is one of those small joys you just can’t get from store-bought treats.
What makes yeasted doughnuts so special is their versatility. You can keep them simple with a sugar glaze, fill them with jam, or roll them in cinnamon sugar for a cozy twist. I’ve spent plenty of weekends testing different versions, and every time I make them, I discover a new way to enjoy them.
In this guide, I’ll walk you through my yeast doughnuts recipe step by step. From gathering ingredients to glazing them just right, you’ll have everything you need to turn your kitchen into your own mini bakery. And trust me—the smiles on your friends’ and family’s faces when they try them will make all the effort worth it.
What Makes This Yeast Doughnuts Recipe a Total Game-Changer
If you’ve ever wondered why bakery doughnuts always taste a little more heavenly than the ones you’ve tried at home, the secret is usually in the recipe. This yeast doughnuts recipe changed everything for me.
The first reason? Texture. These yeast doughnuts come out ridiculously fluffy and light. No heaviness, no chewiness—just soft bites that almost melt away. That’s the magic of yeast working its wonders.
The second reason is the flavor. Yeast doesn’t just make the dough rise; it gives a subtle, complex taste that plain baking powder doughnuts can’t compete with. Add a little nutmeg or cinnamon to the dough, and suddenly you’ve got layers of warmth that taste like comfort itself.
And finally—there’s the experience. Honestly, making doughnuts from scratch feels like a little adventure every time. You measure, mix, knead, wait for the dough to rise, shape, fry, and finally glaze. Each step brings anticipation, and when you finally take that first bite, it’s impossible not to feel proud.
💡 Personal tip: The first time I nailed this yeast doughnuts recipe, I didn’t even get to eat the first one. My family swooped in so fast that I had to fry a second batch just for myself. That’s when I knew I was onto something.
Gathering Your Ingredients: What You’ll Need for Perfect Doughnuts
Before you start, let’s make sure your kitchen is stocked with the essentials. Nothing is worse than realizing halfway through that you’re missing yeast or flour.
Wet Ingredients:
- 1 cup warm milk (around 110°F—warm but not hot)
- 1/2 cup warm water
- 1/4 cup melted butter (this adds richness)
- 1 large egg
- 2 teaspoons active dry yeast (the star of the show ✨)
Dry Ingredients:
- 3 cups all-purpose flour
- 1/4 cup granulated sugar
- 1 teaspoon salt
- 1/4 teaspoon nutmeg (optional, but gives a warm, bakery-style flavor)
For Frying:
- Neutral oil like canola or vegetable oil (avoid olive oil)
For Glazing & Toppings:
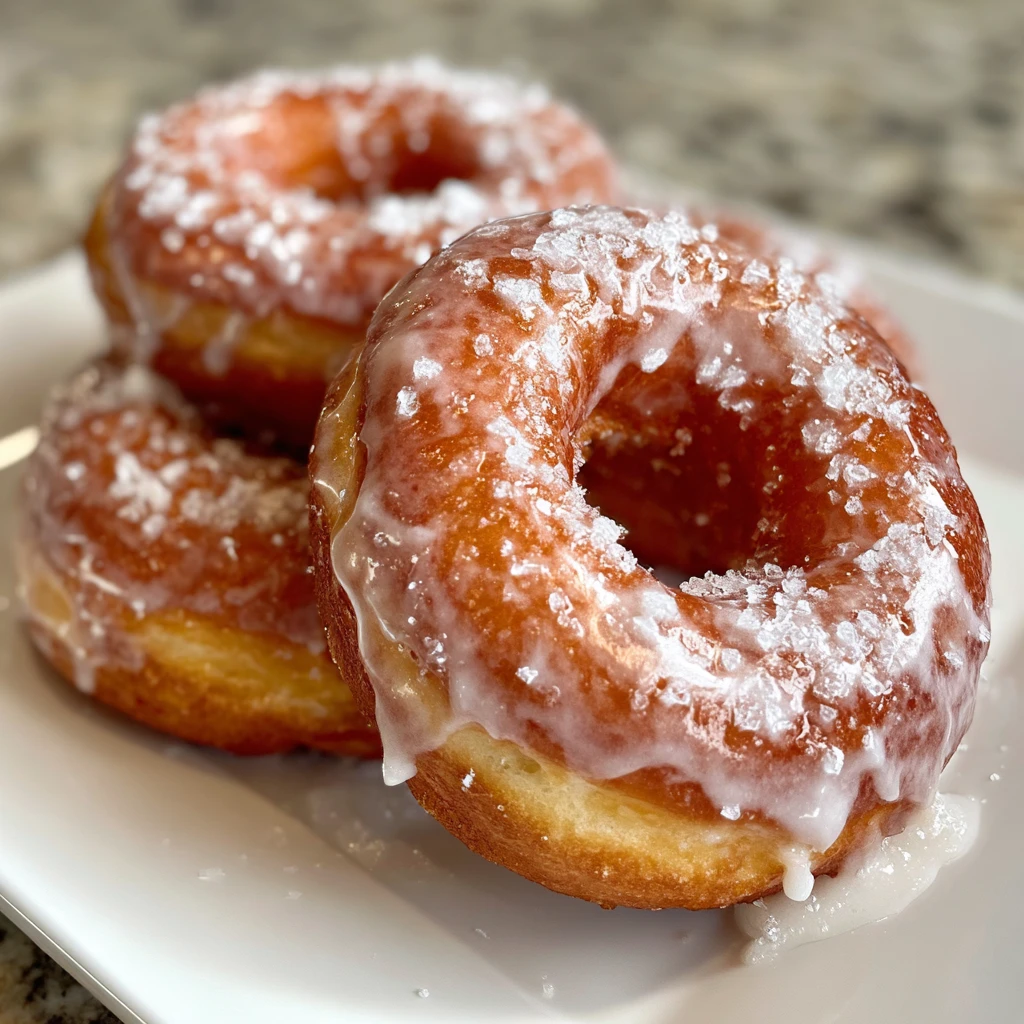
- Classic glaze: powdered sugar + vanilla + milk
- Or try cinnamon sugar, chocolate drizzle, or sprinkles
Helpful Tools:
- Stand mixer (optional but makes life easier)
- Doughnut cutter or two round cookie cutters
- Cooking thermometer for oil temperature
👉 Pro tip: Measure ingredients carefully. Baking is science—you’ll thank yourself later.
Step-by-Step Instructions: How to Master Homemade Yeast Doughnuts
This is the heart of the yeast doughnuts recipe. Follow these steps, and you’ll have a batch of perfect yeast doughnuts ready to devour.
Step 1: Wake Up the Yeast
In a small bowl, mix warm water, a teaspoon of sugar, and the yeast. Let it sit for 5–10 minutes until it’s frothy. If nothing happens, toss it out—your yeast is dead, and your dough won’t rise.
Step 2: Mix Wet and Dry Ingredients
In a large bowl (or mixer), combine the warm milk, melted butter, egg, and the yeast mixture. In a separate bowl, whisk together flour, sugar, salt, and nutmeg. Slowly add the dry mix into the wet ingredients until a dough forms.
Step 3: Knead Until Smooth
With a dough hook or your hands, knead for about 8–10 minutes. You want a dough that’s smooth, elastic, and slightly tacky. Too sticky? Sprinkle in a bit more flour.
Step 4: First Rise
Place the dough in a lightly oiled bowl, cover with a towel, and let it rise in a warm spot. After about an hour, it should double in size. Patience here is crucial—don’t rush it.
Step 5: Shape the Doughnuts
Roll the dough out to about half an inch thick. Use your cutters to cut out doughnut shapes (or improvise with a glass for the outer circle and a bottle cap for the hole). Place them on parchment paper.
Step 6: Second Rise
Cover them again and let them rise for another 30 minutes. They’ll puff up beautifully—this step gives you that bakery-style fluffiness.
Step 7: Fry to Perfection
Heat oil to 350°F (175°C). Fry doughnuts in small batches, 1–2 minutes per side, until golden. Flip with a slotted spoon, then drain on paper towels. Keep your oil at the right temp—too hot, they’ll burn; too cool, they’ll be greasy.
Step 8: Glaze & Enjoy
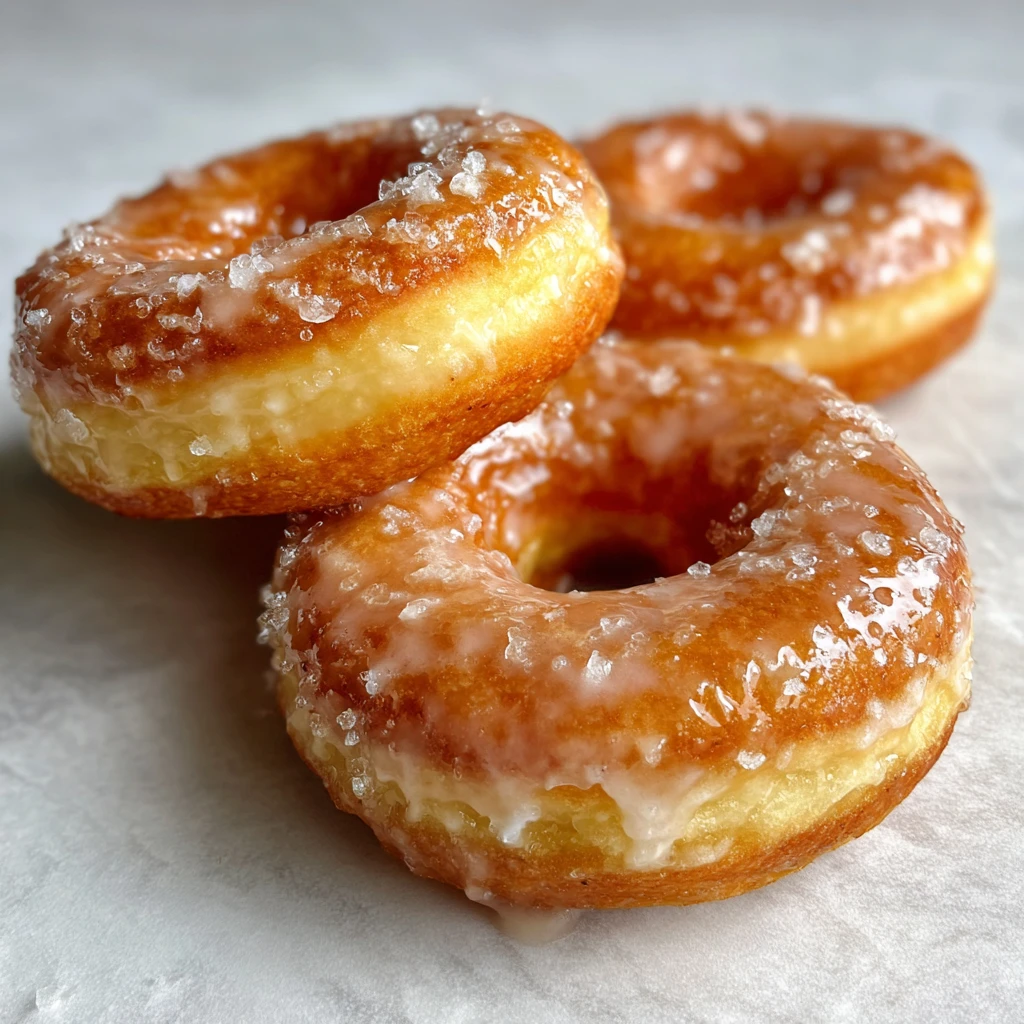
While still warm, dip the doughnuts into glaze or toss in cinnamon sugar. Let the glaze set slightly before eating (if you can wait!).
🔥 Pro tip: Fry one test doughnut first. That way, you can adjust your oil temp before frying the whole batch.
Mistakes I Learned to Avoid (So You Don’t Have To)
Even with a solid recipe, it’s easy to slip up. Here are the traps to watch out for when making yeast doughnuts.
- Over-kneading: Too much kneading makes the dough tough.
- Skipping rise times: Don’t cut corners—the rise creates that soft texture.
- Wrong oil temperature: Invest in a thermometer. It saves headaches.
- Old yeast: Always check the expiration date.
Anecdote time—once, I was impatient and skipped the second rise. The result? Flat, sad-looking doughnuts. They still tasted okay, but the magic fluff was gone. Lesson learned: good doughnuts take time.
Fun Substitutions & Creative Twists
Part of the joy of baking is experimenting. Once you’ve mastered the basics, try these swaps and upgrades:
- Flour swap: Use gluten-free blends (with xanthan gum).
- Milk alternative: Almond or oat milk adds a nice twist.
- Sweeteners: Swap sugar for honey or maple syrup for a deeper flavor.
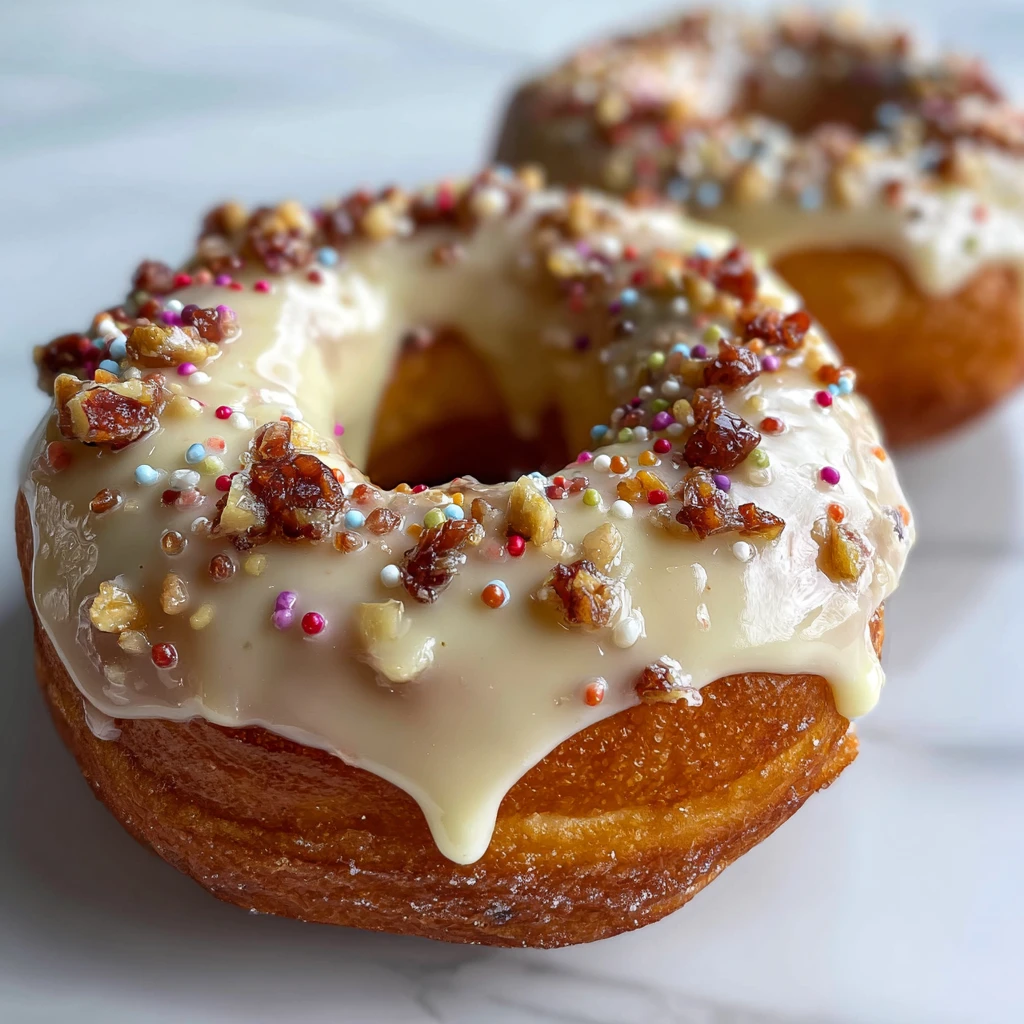
- Toppings: Try a matcha glaze, crushed nuts, or filled versions with jam or cream.
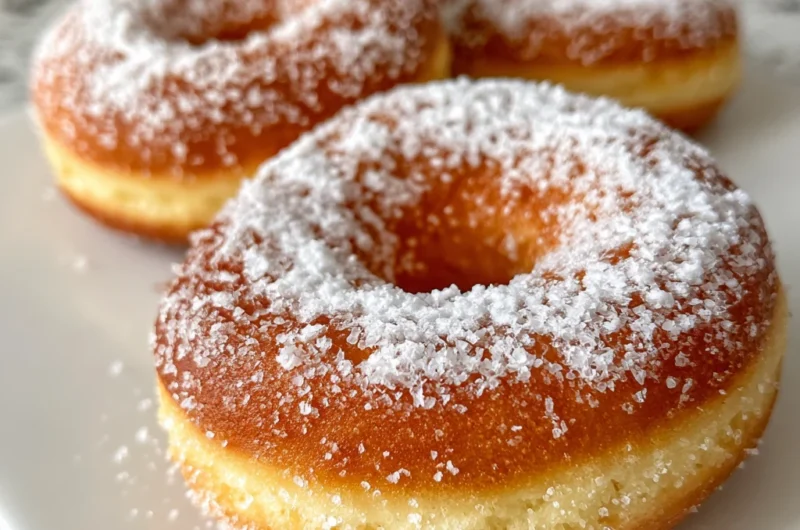
👉 I personally love a simple cinnamon-sugar coating—it’s quick, smells heavenly, and tastes just like fairground doughnuts.
FAQ: Answers to the Most Common Yeast Doughnuts Questions
Can I use margarine instead of butter?
Yes, but butter gives a richer, unbeatable flavor. If you can, stick to butter.
How do I know when my dough is ready?
It should double in size during rising. Poke it lightly—if the dent stays, you’re good to go.
Can I prep the dough overnight?
Definitely! Let it rise in the fridge overnight, then bring it to room temp before shaping.
What oil is best for frying?
Neutral oils like canola or vegetable are ideal. Don’t use olive oil—it has too strong a taste.
How do I store leftovers?
Keep them in an airtight container for 1–2 days, or freeze them. Reheat in the microwave for 10–15 seconds to revive them.
Can I bake instead of frying?
Yes! Bake at 350°F for about 14 minutes. They’ll be tasty, but not as crispy as fried.
Why are my doughnuts browning too quickly?
Your oil is too hot. Lower the heat slightly and fry in smaller batches.
Wrapping It Up: Why Homemade Doughnuts Are Worth It
Making yeasted doughnuts at home is about so much more than just the treat at the end. It’s about slowing down, enjoying the process, and creating something with your own hands. The smell that fills your kitchen, the excitement of watching the dough rise, the golden rings frying—it all feels like a little celebration. 🎉
Sharing these doughnuts is my favorite part. Friends always ask, “Did you really make these yourself?” And honestly, that pride hits just as sweet as the glaze.
So here’s my advice: don’t be intimidated. Grab your ingredients, set aside a couple of hours, and just try it. You’ll surprise yourself, and who knows—this yeast doughnuts recipe might just become your new weekend tradition.
Happy frying, and don’t forget to enjoy that first warm bite—it’s pure joy in dough form.
Related Recipes to Complement Your Yeast Doughnuts
Decadent Banana Cinnamon Rolls
A soft and gooey breakfast treat that pairs warm banana flavor with cinnamon spice—perfect for fans of sweet, yeasted bakes.
Coffee Cake I Can’t Stop Making
A cozy, crumbly cake with a sweet cinnamon swirl, ideal for enjoying alongside homemade yeast doughnuts.
Sweetest Strawberry Shortcake
A fresh, fruity dessert that balances buttery shortcake layers with juicy strawberries and cream.
Did You Like This Recipe?
There are no reviews yet. Be the first one to write one.
Yeast Doughnuts Recipe Card
Course: DessertCuisine: AmericanDifficulty: Medium12
servings1
hour30
minutes15
minutes300
kcalIngredients
- Wet Ingredients:
1 cup warm milk (110°F)
1/2 cup warm water
1/4 cup melted butter
1 large egg
2 tsp active dry yeast
- Dry Ingredients:
3 cups all-purpose flour
1/4 cup sugar
1 tsp salt
1/4 tsp nutmeg (optional)
- For Frying:
Neutral oil (canola or vegetable)
- For Glaze/Toppings:
Powdered sugar + milk + vanilla (for glaze)
OR cinnamon sugar, chocolate, or sprinkles
Directions
- Activate yeast: Mix warm water, 1 tsp sugar, and yeast. Rest 5–10 min until frothy.
- Mix dough: Combine milk, butter, egg, and yeast mixture. Add flour, sugar, salt, nutmeg. Mix until dough forms.
- Knead: Knead 8–10 min until smooth and elastic.
- First rise: Place dough in oiled bowl, cover, and let rise 1 hr until doubled.
- Shape: Roll dough 1/2 inch thick. Cut into doughnut shapes.
- Second rise: Cover and rest 30 min until puffy.
- Fry: Heat oil to 350°F (175°C). Fry doughnuts 1–2 min per side until golden. Drain on paper towels.
- Glaze: Dip warm doughnuts in glaze or coat with toppings.