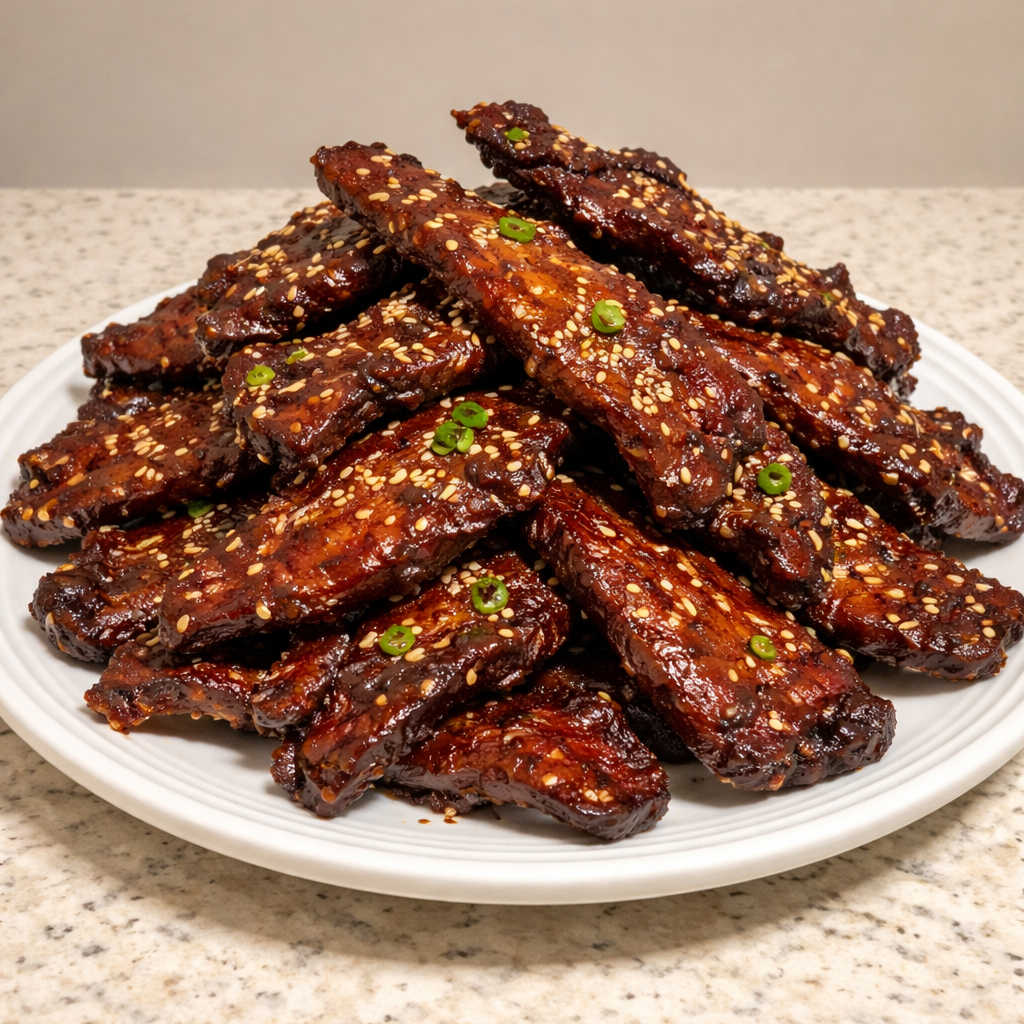
How to Make Sweet and Spicy Korean BBQ Beef Jerky at Home
While we have provided a jump to recipe button, please note that if you scroll straight to the recipe card, you may miss helpful details about ingredients, step-by-step tips, answers to common questions and a lot more informations that can help your recipe turn out even better.
I believe snacks should fight you back. Also that if you’re not slightly ashamed of your cravings at 2 a.m., you’re living wrong. This came up while watching a K-pop group eat something and of course I decided to make jerky (is that normal? no). Anyway, this is my chaotic love letter to Korean BBQ Beef Jerky — sweet, salty, tiny explosions of sesame — and yes I will radicalize your pantry.
Also, if you like the whole Korean BBQ vibe but want dinner instead of a lifetime of snacking, I once made this flavor profile into rice bowls and they were dangerously good: Korean BBQ steak rice bowls with spicy cream sauce. I’m not saying you need to make both at once. I am saying you will want to.
Easy Korean BBQ Beef Jerky Recipe for Beginners
Oh my God, the first time I tried making this I messed up in a way that is now lore. There was a smell — not “caramelizing” but “someone melted their leather couch” — and a sound like the oven was trying to cry. The strips stuck to the rack with the passion of a broken heart. Texture? Closer to chewing a shoelace than any edible joy. I even tried to salvage it with more marinade (spoiler: wet jerky is a sad movie).
Embarrassing? Yes. Did I Instagram it? Of course not. Did I learn the hard lesson about temperature and patience while my kitchen steamed and my cat judged me? Absolutely. You can laugh. I still have scars (from the pepper, maybe), and also a surprising fondness for the memory. It taught me things I didn’t want to learn, which is my favorite way to learn.
Also, in one desperate attempt to distract myself I made a creamy pasta because why not and it was comforting and ridiculous: creamy parmesan garlic beef bowtie pasta. Not related. Maybe related.
Why This Version Actually, Probably Works (I Say, Tentatively)
So what changed? Two things: I stopped treating the oven like a microwave, and I stopped micro-managing every strip like a helicopter parent. Emotional growth, people. Practically: lower temp, longer time, and respect for the grain. Also, I learned to like a little chew — jerky shouldn’t be rubbery nor crumble like a sad cracker. This Korean BBQ Beef Jerky hits that middling, ridiculous sweet spot where you feel accomplished and mildly superior for having dehydrated meat at home.
There’s also the marinade — a real balance of salty and sweet with sesame oil whispering in the background. I tried ten versions. Ten. Some were better, some made me cry. This one? Solid, but I still doubt myself sometimes. Which is the best kind of recipe to share, right?
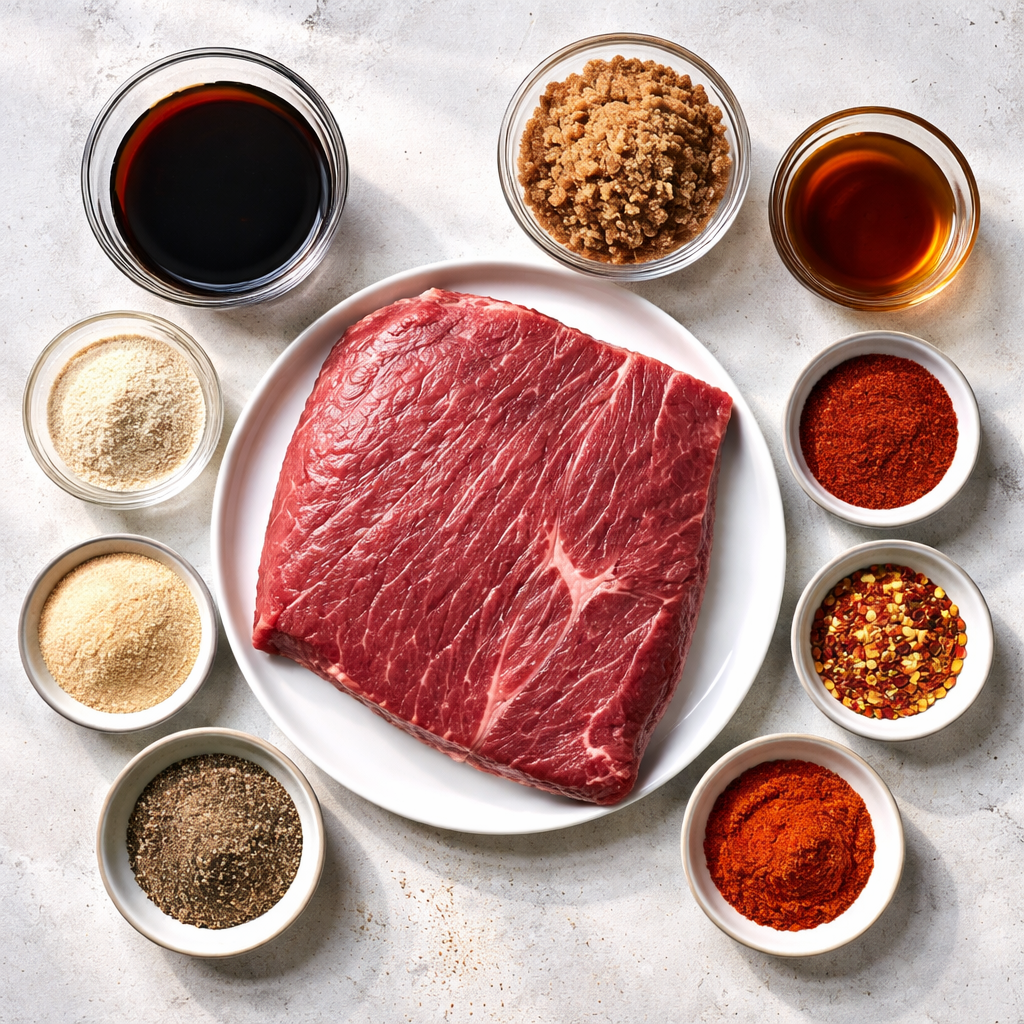
Ingredients (yes, real things you can actually buy)
- 2 pounds beef flank steak
- 1/4 cup soy sauce
- 1/4 cup brown sugar
- 2 tablespoons sesame oil
- 1 tablespoon garlic powder
- 1 tablespoon onion powder
- 1 tablespoon black pepper
- 1 teaspoon red pepper flakes
- 1 teaspoon smoked paprika
If you’re wondering: buy flank steak when it’s on sale, slice against the grain for tenderness, and yes brown sugar is cheating but in the best way. Substitutions? I’m not your mom — go wild but don’t blame me if the texture turns emo.
Cooking Unit Converter
If you need to switch cups to grams or Fahrenheit to, like, not setting your house on fire, this tool helps:
How I Actually Make It (with minimal melodrama)
- Slice the beef flank steak into thin strips against the grain.
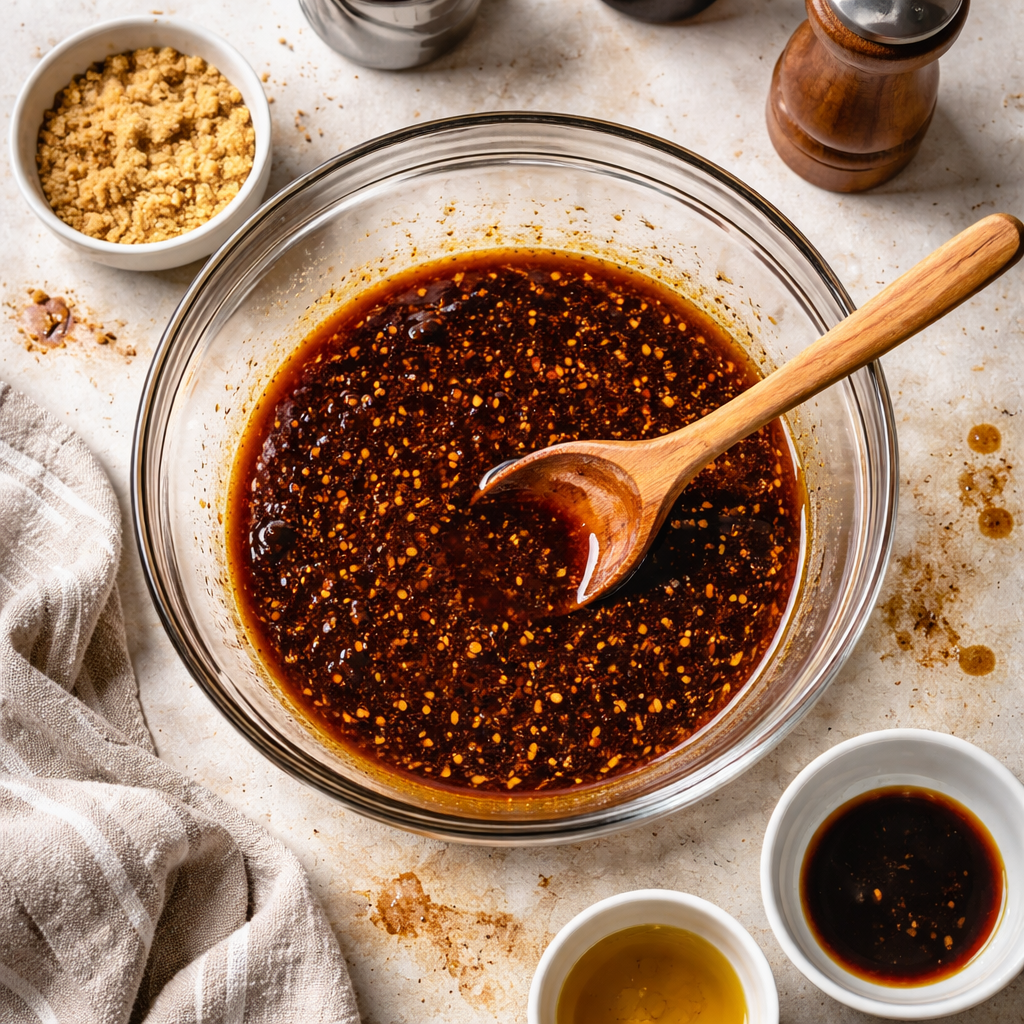
- In a bowl, mix together soy sauce, brown sugar, sesame oil, garlic powder, onion powder, black pepper, red pepper flakes, and smoked paprika to create the marinade.Put the beef strips into the marinade, ensuring they are well coated.
- Cover and marinate in the refrigerator for at least 4 hours or overnight for best flavor.
- Preheat your oven to 175°F (80°C) or prepare a dehydrator.
- Arrange the marinated beef strips on a baking rack lined with parchment paper for even drying.
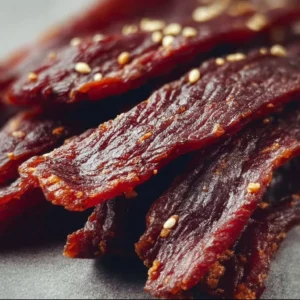
- Dry the beef in the oven or dehydrator for 6-8 hours, or until it reaches your desired texture.
- Once done, let it cool completely before storing in an airtight container.
Also: do not, under any dramatic impulse, crank the heat to speed things up. You’ll get angry jerky. If you want reassurance while you wait, I made a soup once that was basically therapy in a bowl — try the French onion-inspired option if you need comfort while your jerky slowly becomes magnificent: French onion beef short rib soup. I know, multiple comfort foods. I have issues. Non-linear note: sometimes I flip strips halfway through because I’m controlling, sometimes I don’t. Try both. Also, SALT LEVELS MATTER. But you already knew that. Or didn’t. Either way, you’ll learn.
Okay, real talk — are you eating this at your desk? On a hike? In the car?
Do you also judge people who eat jerky with a fork? Why do we have to be human? Tell me your snack sins. Do you like it spicy or do you prefer to slowly introduce the heat like a suspicious date? Am I the only one who hides a stash in the top shelf of the pantry under the quinoa? (No one cares about that quinoa; it’s hiding for very valid reasons.)
Also: if you make this and your partner says “it’s good” in that tone — you know the one — bring them back for seconds and make them mean it. Also send me a photo. Not for my feed; for therapy.
Common questions people whisper in my comments section
In an airtight container at room temp it’s best within a week; refrigerated will stretch it to a couple of weeks. If you vacuum seal — fancy — you can push it further but I get suspicious of anything that lasts like a pandemic.
Sure. Flank is economical and slices well, but sirloin or round work (just trim fat). Fat can go rancid faster, so leaner is safer for long storage.
If it’s soft, you didn’t dry long enough or the strips were too thick. If it’s hard, you over-dried it. Slice thinner next time, and test with that bend-and-tear trick — some chew is good, but you should be able to bite it without reenacting a gymnastics routine.
Yes, oven on low works great — just set it and forget it (but not really). Use the lowest temp, and leave the door slightly ajar if your oven is a drama queen and likes to spike temps.
Mild to medium by default because of red pepper flakes; increase flakes or add gochugaru if you want to prove something to your taste buds.
I have feelings about snacks. They are complicated, messy, and often involving sesame oil. I also have seven marinade bowls in my sink and no regrets. You will make this, and then you will tell me it changed your life, and I will shrug because I am trying to be unbothered but secretly thrilled. Also, if you forget to set a timer — which you will — it’s okay, the kitchen forgives, sometimes.
Daily Calorie Needs Calculator
If you want to nerd out on how many calories this snack will play with in your day, this calculator is sane and slightly judgmental:
Korean BBQ Beef Jerky
Ingredients
Main Ingredients
- 2 pounds beef flank steak Slice against the grain for tenderness.
Marinade
- 1/4 cup soy sauce Provides saltiness.
- 1/4 cup brown sugar Adds sweetness.
- 2 tablespoons sesame oil Enhances flavor.
- 1 tablespoon garlic powder
- 1 tablespoon onion powder
- 1 tablespoon black pepper
- 1 teaspoon red pepper flakes Adjust for spice level.
- 1 teaspoon smoked paprika
Instructions
Preparation
- Slice the beef flank steak into thin strips against the grain.
- In a bowl, mix together soy sauce, brown sugar, sesame oil, garlic powder, onion powder, black pepper, red pepper flakes, and smoked paprika to create the marinade.
- Put the beef strips into the marinade, ensuring they are well coated. Cover and marinate in the refrigerator for at least 4 hours or overnight for best flavor.
- Preheat your oven to 175°F (80°C) or prepare a dehydrator.
- Arrange the marinated beef strips on a baking rack lined with parchment paper for even drying.
- Dry the beef in the oven or dehydrator for 6-8 hours, or until it reaches your desired texture.
- Once done, let it cool completely before storing in an airtight container.